Protecting Walls While Adding Finish Detail
Backsplash in Greenville, Michigan for kitchens and bathrooms where splashing, staining, and visual cohesion matter
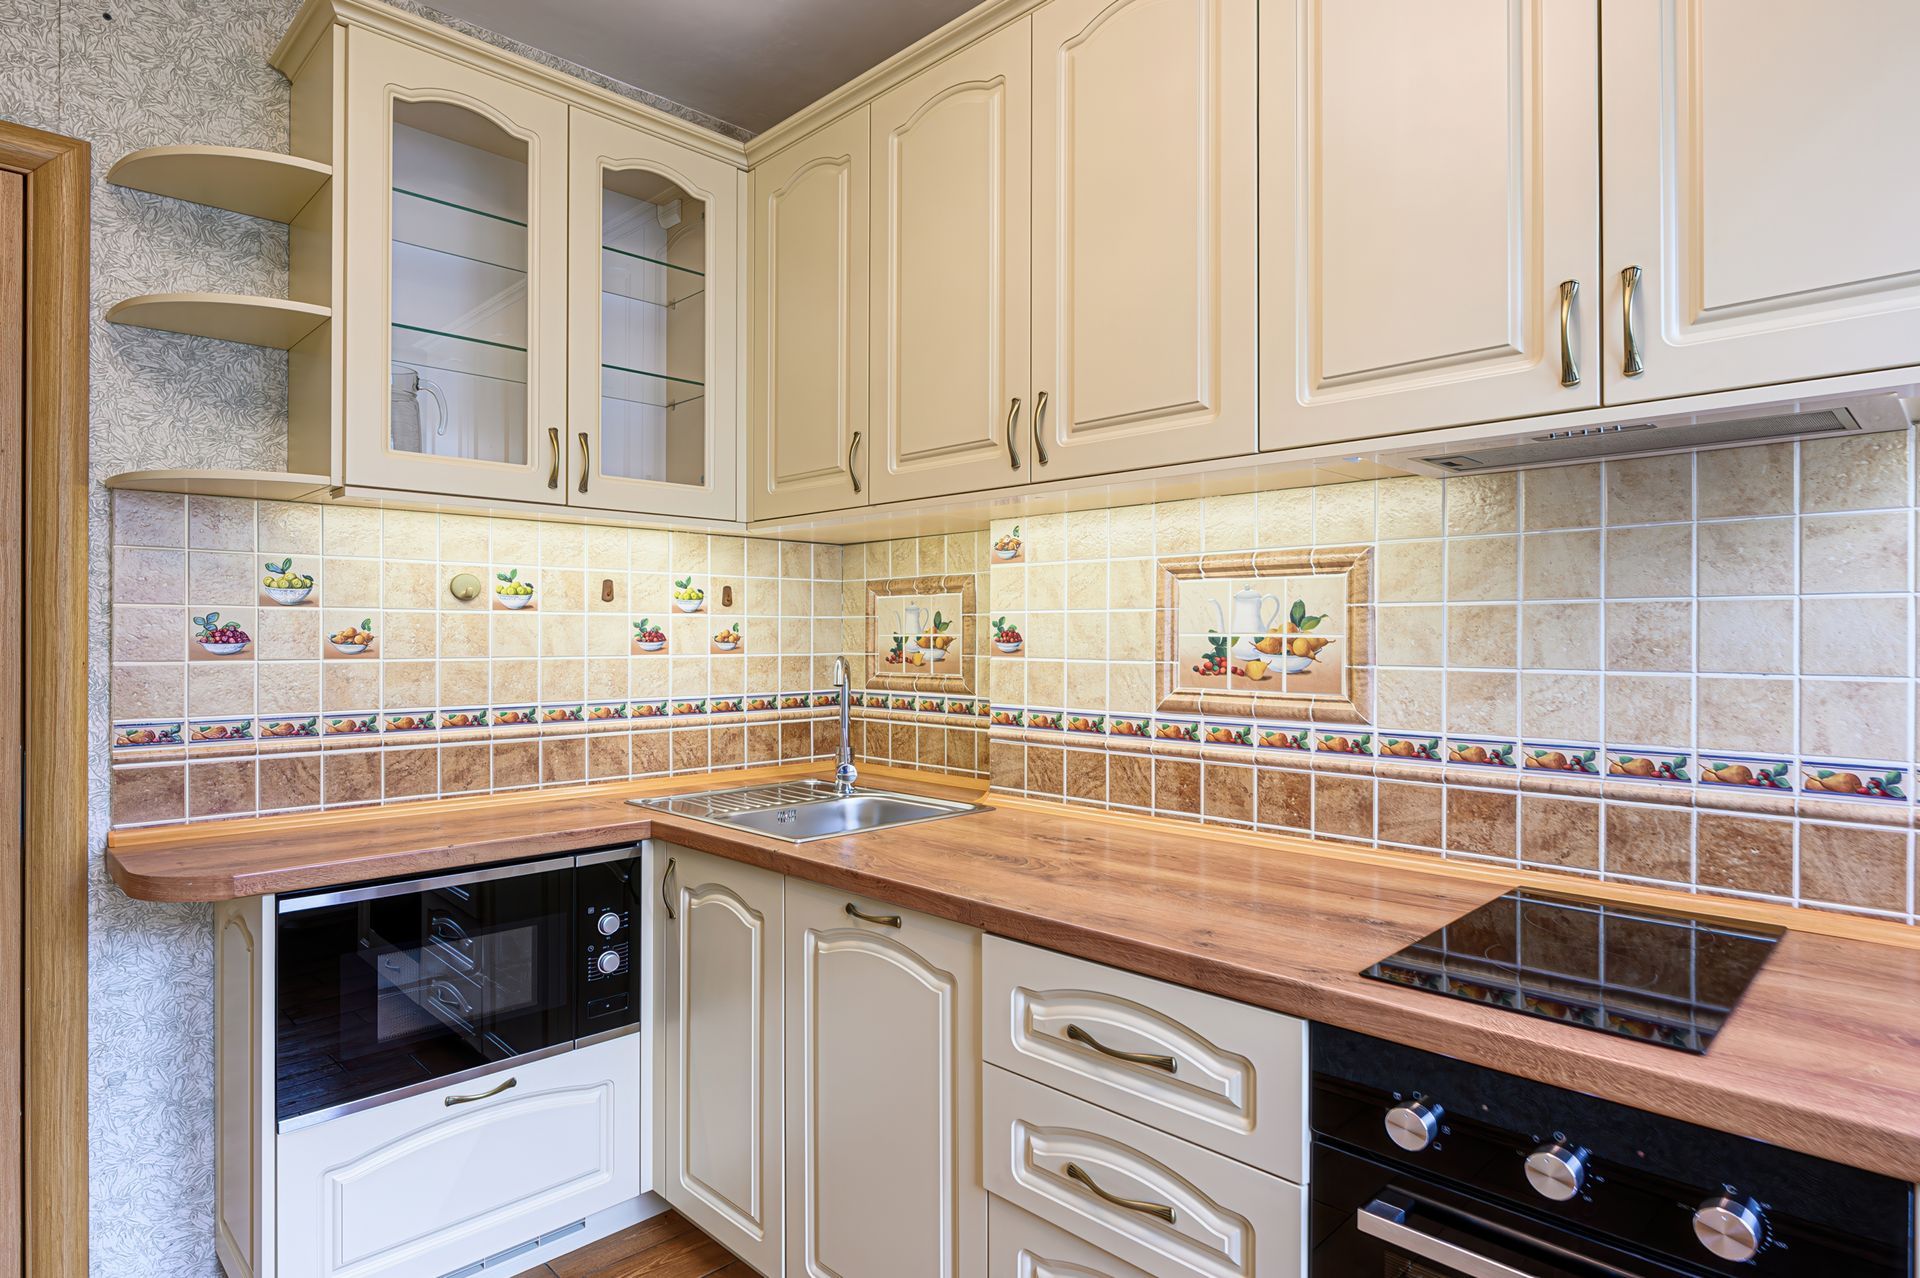
Painted drywall behind a sink absorbs grease, stains from food splatter, and develops mold in areas where water collects along the counter edge—backsplash tile creates a wipeable, durable barrier that stops deterioration before it starts. The installation involves bonding tile to the wall surface, grouting joints to seal against moisture, and finishing edges cleanly where the backsplash meets cabinets, countertops, and outlets. Adam's Interiors installs backsplash in Greenville, Michigan for kitchen and bathroom projects where protecting the wall surface and coordinating finishes with existing cabinetry and countertops define the scope. You need this service when upgrading kitchens without replacing cabinets, when finishing newly installed countertops, or when water damage behind sinks indicates that the current wall treatment isn't holding up.
Material and layout choices affect both appearance and function—subway tile laid in a running bond pattern offers a classic look with minimal waste, while mosaic sheets provide texture and visual interest but create more grout lines that require maintenance. The height of the backsplash depends on whether it runs from counter to cabinet, extends to the ceiling in wet areas, or stops at a chair rail or decorative border. Tile must align with electrical outlets so cuts don't land awkwardly around boxes, and the layout should balance symmetry around windows or range hoods.
Schedule a project consultation to review material options and discuss how backsplash height and layout integrate with your existing finishes.
The Difference Between Surface Protection and Decoration
Installation begins by confirming that the wall surface is clean, stable, and free of loose paint or wallpaper that would compromise the bond. Tile gets set in thinset mortar with consistent coverage to avoid hollow spots, and spacers maintain uniform grout joints across the entire field. Cuts around outlets require precise measurements so cover plates reinstall flush with the tile surface, and edge trim or bullnose pieces finish transitions at cabinets and open ends without leaving raw tile edges exposed.
After the grout cures and the surface is sealed, you'll notice that water beads off the tile instead of soaking into the wall, grease wipes clean without leaving stains, and the backsplash ties together the countertop and cabinetry into a cohesive design. The wall behind your sink or stove no longer requires repainting after cleaning, and splashes that once left permanent marks now rinse away without residue. Properly installed backsplash adds a finished, intentional look that distinguishes remodeled spaces from basic builder-grade installations.
Backsplash projects often pair with kitchen and bathroom remodels, but they also work as standalone upgrades that refresh a space without the cost and disruption of replacing cabinets or countertops. The scope can involve a simple four-inch strip behind a bathroom vanity, a full-height kitchen installation that reaches upper cabinets, or an accent wall that extends beyond the typical cooking zone to create a focal point. Grout color influences the final appearance—matching grout creates a seamless look that emphasizes the tile itself, while contrasting grout highlights the pattern and grid.
What Homeowners Usually Want to Know
Before starting backsplash installations in Greenville, clients often ask these questions to understand the process and outcomes.
What causes backsplash tile to loosen or fall off after installation?
Poor surface preparation is the most common cause—tile bonded over loose paint, wallpaper, or drywall dust will eventually delaminate. Insufficient thinset coverage also creates voids where tiles aren't fully supported, leading to cracks or detachment under impact.
How does tile size affect the visual scale and installation complexity?
Large tiles make small spaces feel more expansive by reducing grout lines, but they require flatter wall surfaces and result in more waste when cut around outlets and edges. Smaller tiles and mosaics conform to irregular walls more easily and create detailed patterns, though they involve more grout joints that need sealing and cleaning.
When should backsplash extend to the ceiling versus stopping at the cabinets?
Full-height backsplash makes sense in wet areas like behind sinks or in bathrooms where splashing reaches higher than standard cabinet height. Stopping at the upper cabinets works in most kitchen applications and reduces material costs while still protecting the primary splash zone.
What preparation happens before tile installation begins?
Outlets get turned off and removed, wall surfaces are cleaned and primed if necessary, and the layout is dry-fitted to confirm that cuts land in acceptable locations. This avoids narrow slivers at edges and ensures that patterns remain centered or balanced around focal points like windows or range hoods.
Why do grout lines sometimes crack or discolor shortly after installation?
Cracking typically results from improper grout mixing, inadequate curing time, or movement in the substrate. Discoloration occurs when grout isn't sealed or when cleaners with dyes or oils penetrate the porous grout surface, which is why sealing is recommended after the grout fully cures.
Adam's Interiors completes backsplash installations that protect wall surfaces and coordinate with your cabinetry and countertops, whether you're finishing a remodel or upgrading a single area. Request an estimate based on your material preferences and the specific layout of your kitchen or bathroom.